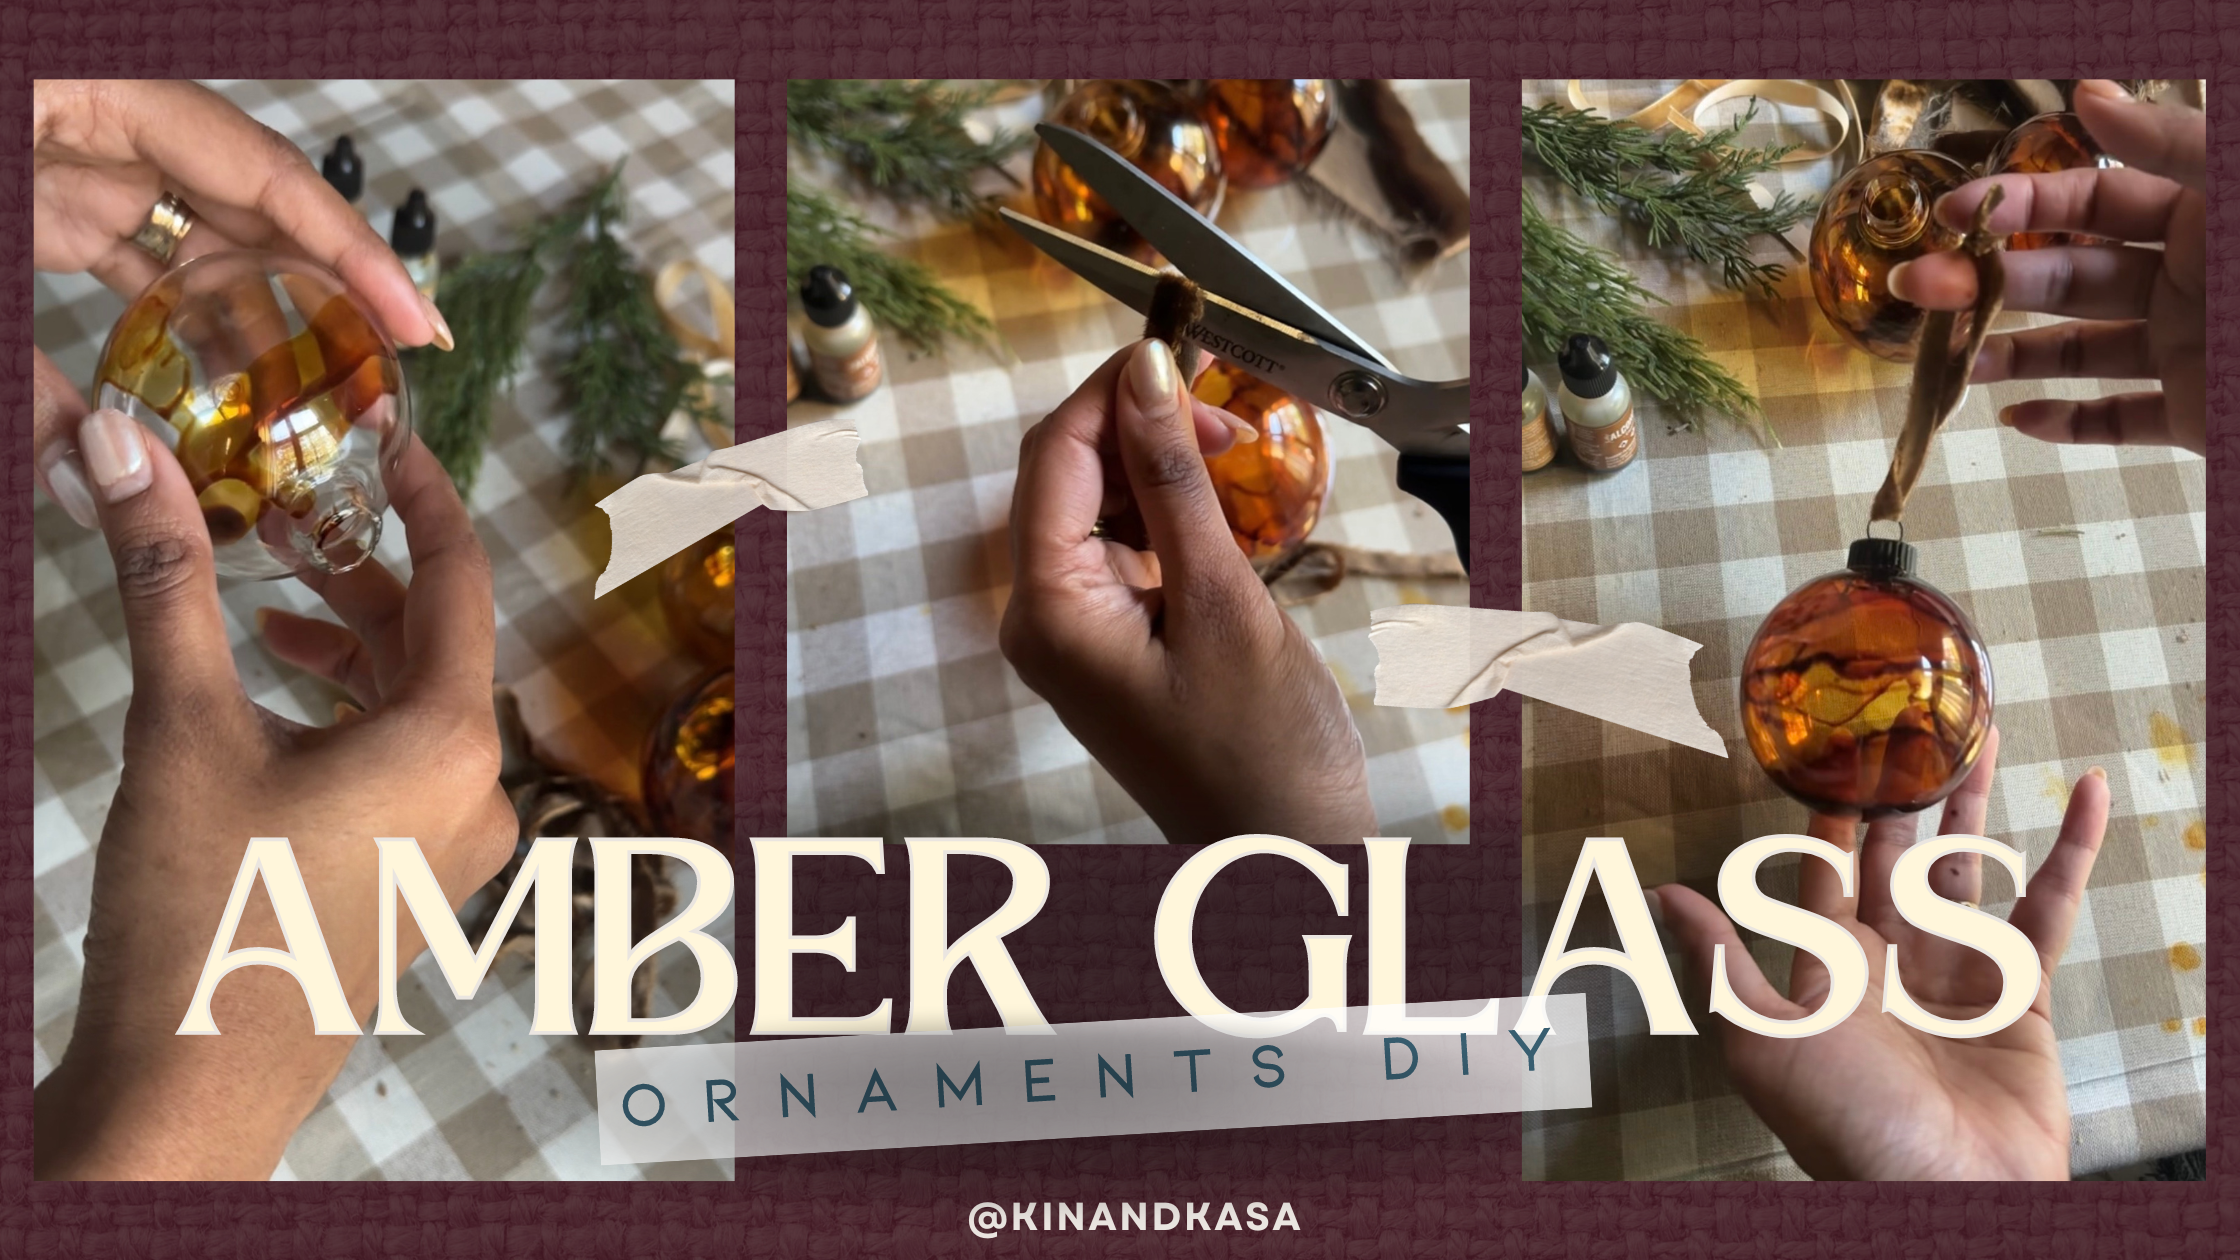
Amber glass ornaments exude a timeless, vintage charm that’s perfect for elevating your holiday decor. The best part? It’s an easy to make DIY Christmas ornament with a few simple materials and a touch of creativity. In this DIY guide, we’ll show you how to craft your very own amber glass ornaments that will beautifully complement your holiday tree. So, let’s get started!
Click here for a link to the exact materials I used.
Materials You’ll Need:
2. Alcohol ink in the colors Latte, Caramel, and Ginger
3. A blow-dryer
Step 1: Prepare Your Materials
Before you begin, make sure you have all your materials ready. Clear Christmas ornaments provide an excellent canvas for this project, allowing the colors to shine through beautifully. You’ll also need alcohol ink in the warm, inviting shades of Latte, Caramel, and Ginger. And, of course, don’t forget your trusty blow-dryer.
Step 2: Creating a Unique Look
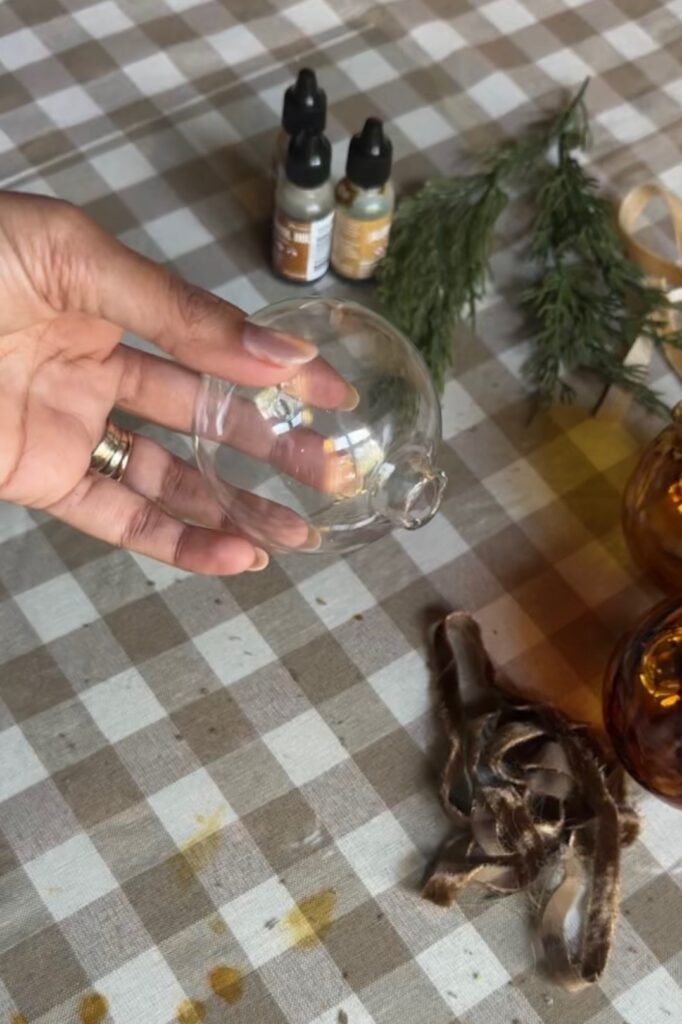
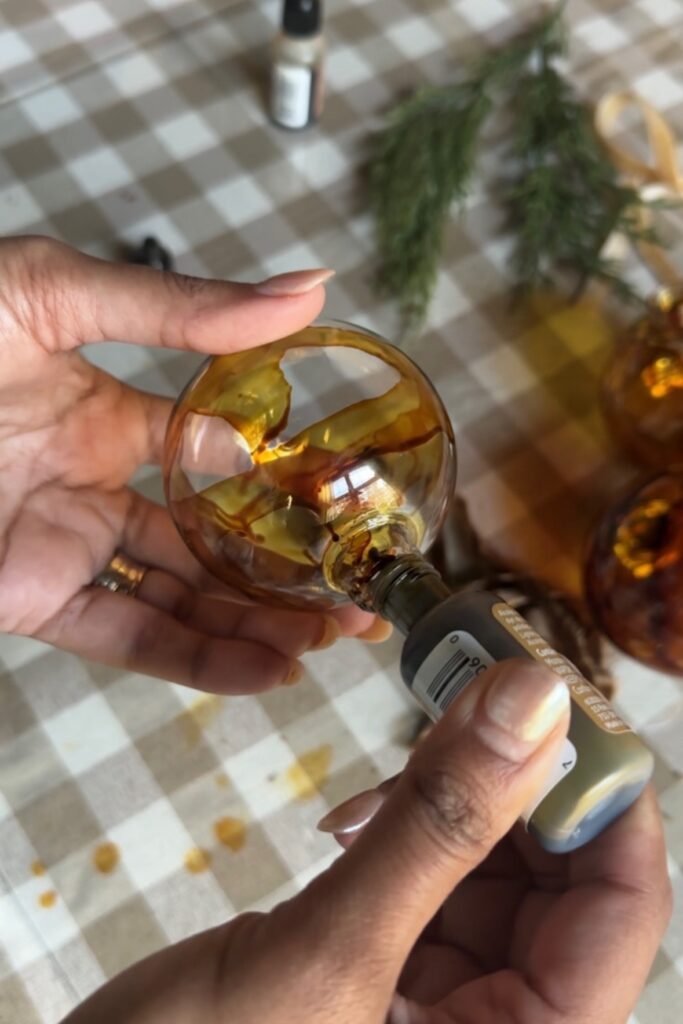
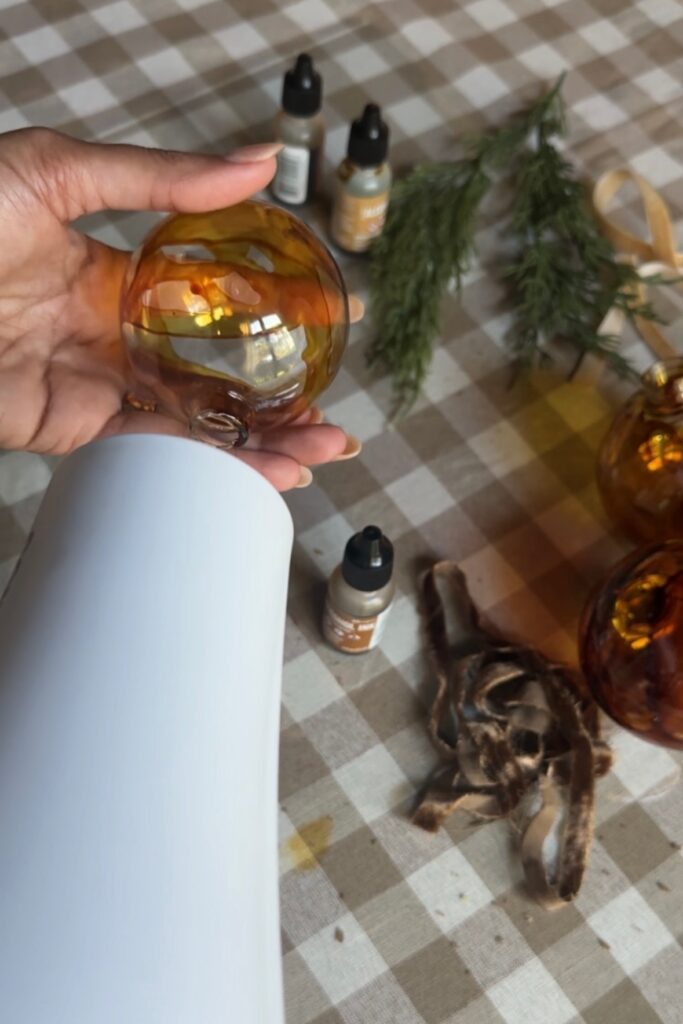
1. Start by removing the cap from the Christmas ornament, exposing the opening.
2. With the ornament opened up, carefully pour your chosen alcohol ink colors inside. The combination of Latte, Caramel, and Ginger will create a mesmerizing amber effect.
3. Now, the magic begins! Hold the ornament and gently swirl it to create your unique pattern with the alcohol ink.
If you want a solid amber color without the swirl pattern, you just need to coat the entire ornament with the alcohol ink evenly and then use the blow dryer.
Step 3: Enhancing Your Creation
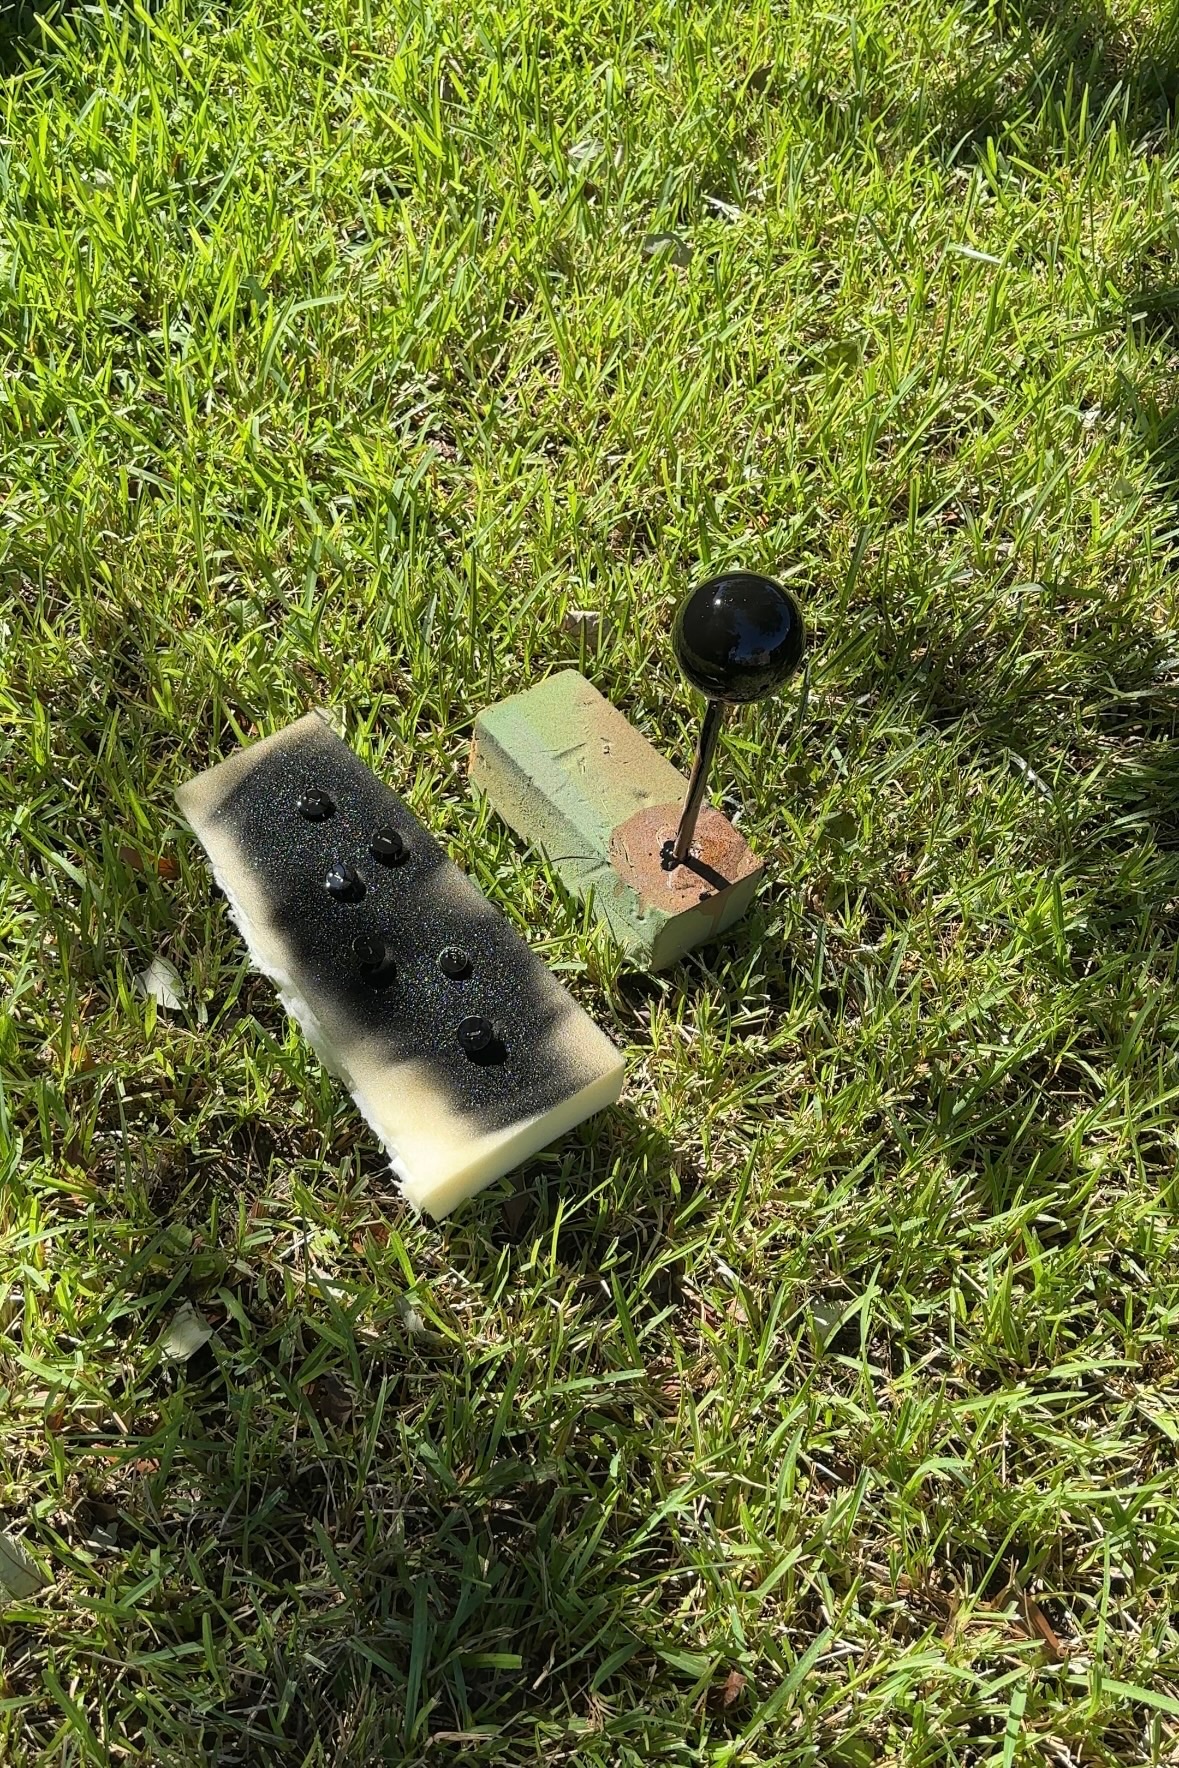
To add some distinctive finishing touches:
1. After you’ve achieved the perfect swirling pattern or a solid amber color, it’s time to enhance your ornament’s appearance. Spray paint the cap of the ornament in black for a sophisticated contrast.
2. Once the black paint has dried, reattach the cap to the ornament.
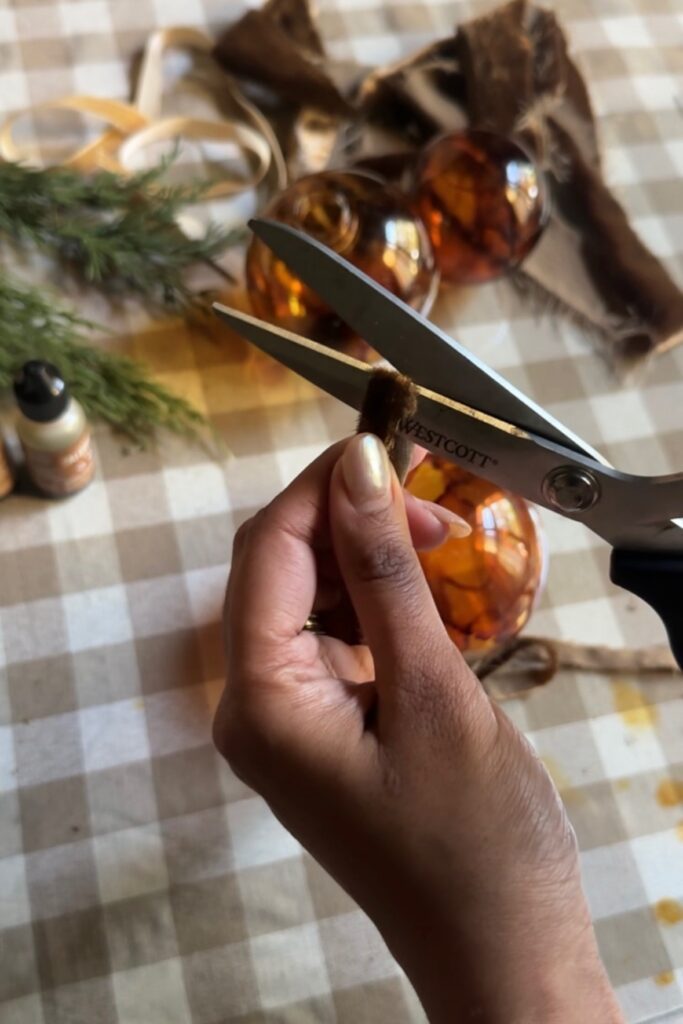
3. Cut a length of velvet ribbon of your choice. Velvet adds a touch of luxury and complements the vintage charm of your ornament.
4. Tie the velvet ribbon in a graceful bow around the top of the ornament. This ribbon not only adds elegance but also makes it easy to hang your creation on the tree.
Step 4: Admire Your Hard Work
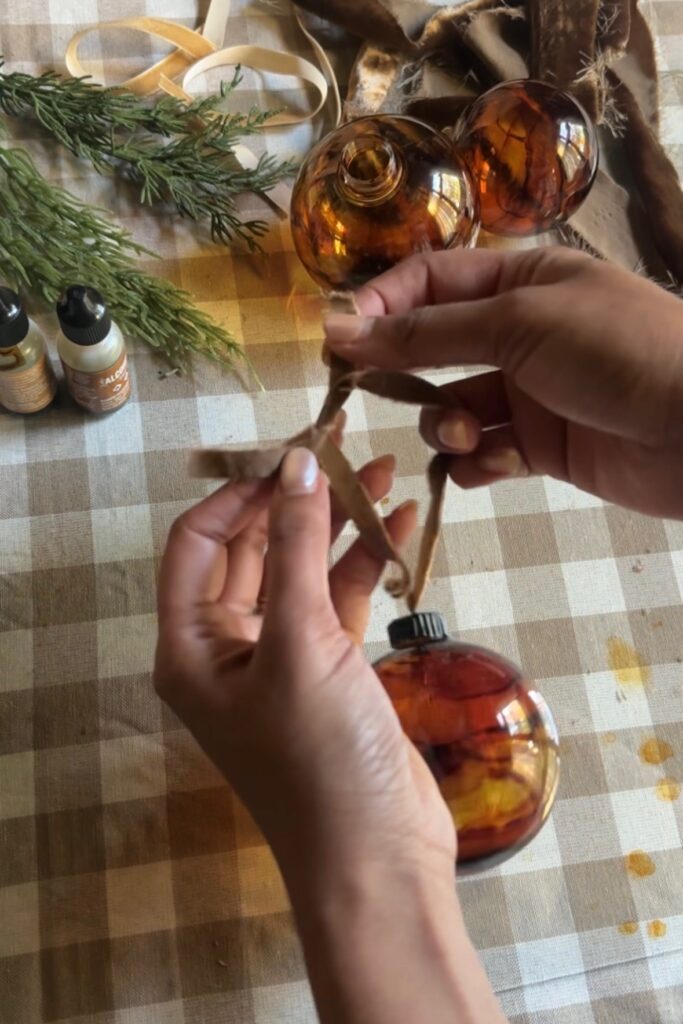
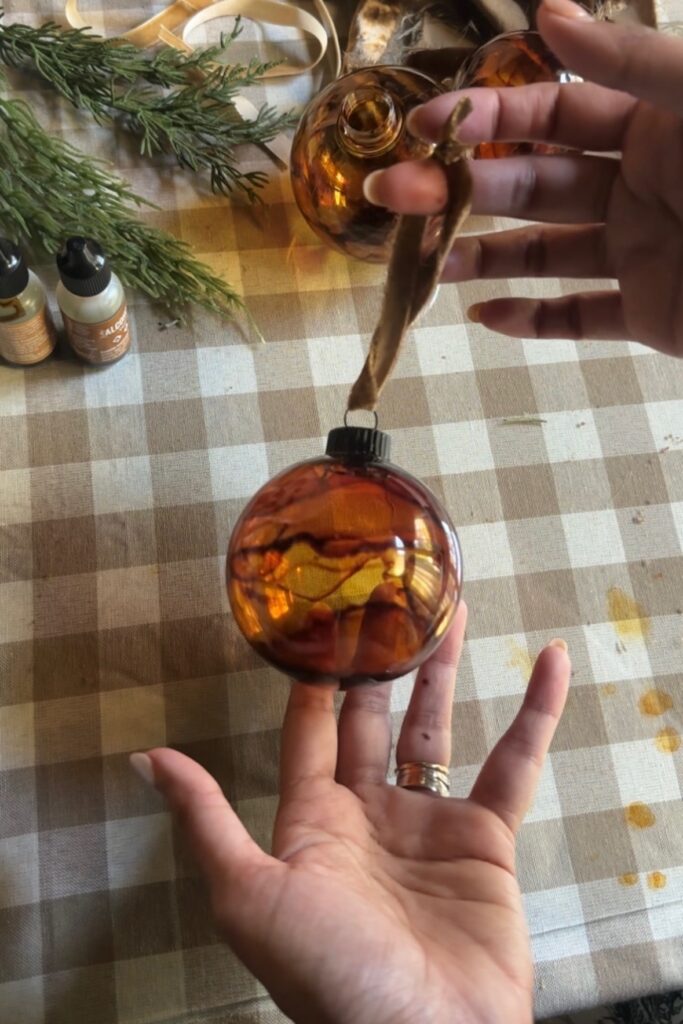
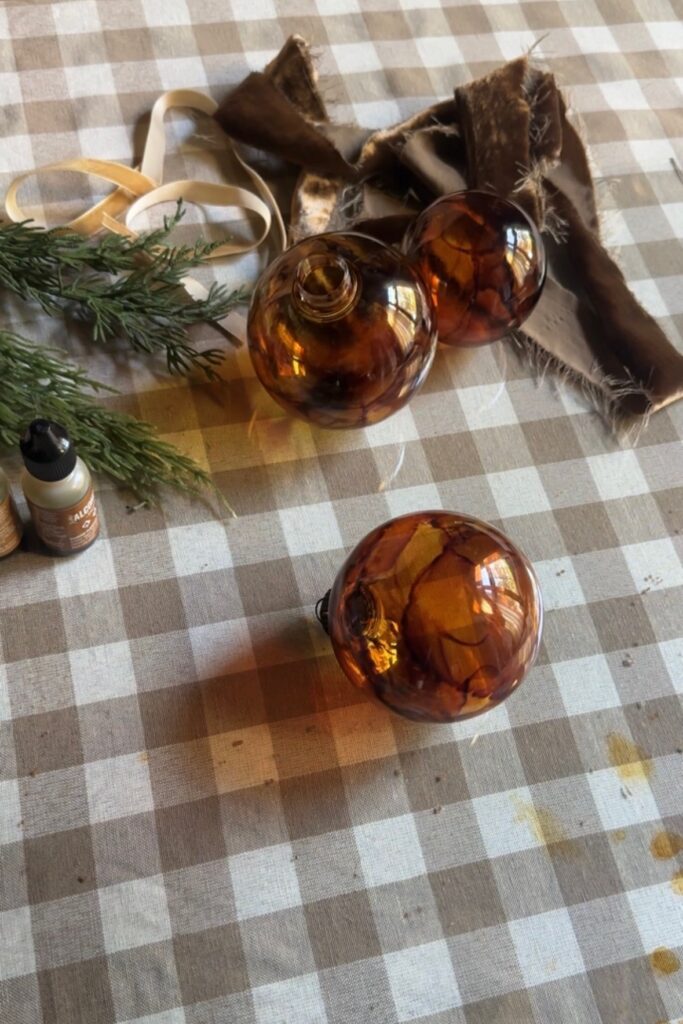
After adding the black cap and velvet ribbon, take a step back and admire your creation. These DIY amber glass ornaments will add a touch of sophistication and warmth to your holiday decor. At night, they will cast a warm and inviting glow throughout your home.
In just a few easy steps, you’ve transformed plain clear ornaments into captivating amber gla
ss masterpieces. With the warm, inviting colors, unique patterns, and added embellishments, your handmade ornaments will be a highlight of your holiday decorations. Happy crafting!
