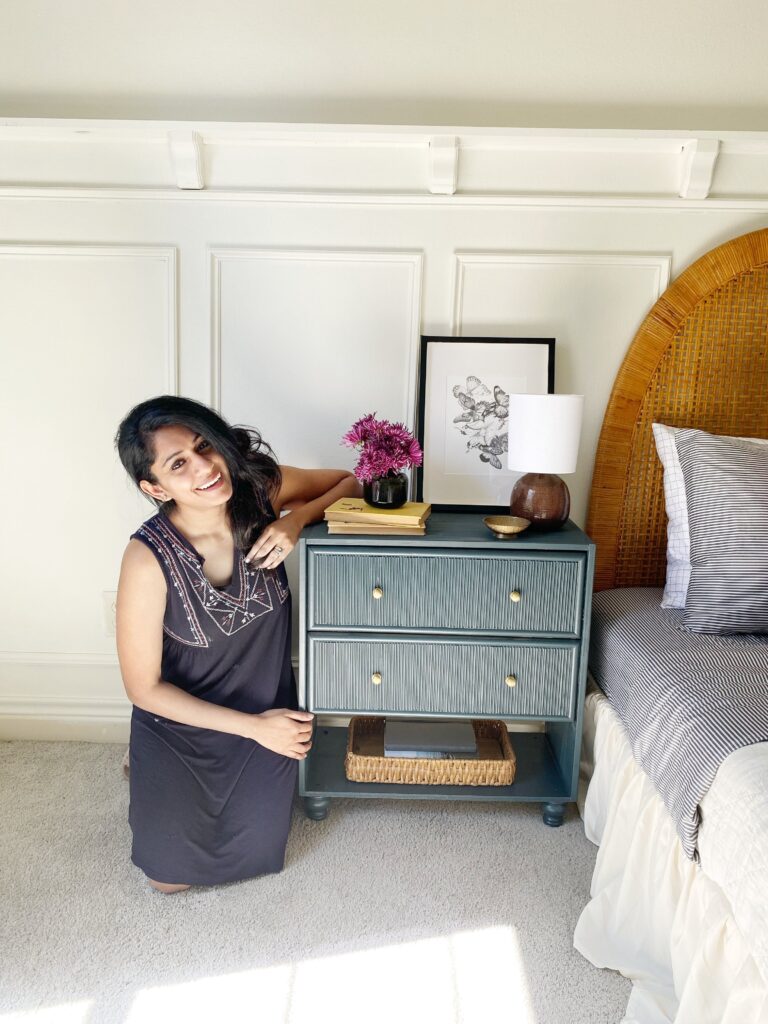
I decided to give the $40 Ikea rast a facelift for my kid’s room and this is how it turned out.

Planning:
Before I started my project, I wanted to plan what I wanted my final project to look like:
- Keep only two drawers
- Add brass pulls/knobs
- Add reeded details to the drawer front
- cut toe kick and add legs
- Paint
Cutting and assembling:
I assembled the drawer based on the IKEA Rast manual then cut a ½ inch plywood – one to attach to the top and one to the bottom. I attached the bottom piece to the dresser with pocket holes; in this case pocket holes are not necessary, you can also screw it in directly from the side.
Then framed it out with dowel pieces to give it a border. I decided to have a reeded texture, so got some reeded trims from Wear a Wood grain. Before cutting the reeded trims, make sure to measure the distance between the top and bottom dowel pieces. For a cleaner finish, I taped a few pieces together and use a painter’s tape for cutting down the reeded trim as needed. I got my reeded trims from We are woodgrain but they are also available in Home Depot.
Once, I had the pieces cut in proper lengths, I glued them to the drawer front one by one. The pieces fit perfectly but there were gaps between the trims, so I caulked them with glue.
Finally, I attached the legs by screwing them in from down and used a drill bit to countersink it, so screw won’t be seen.
I got the knobs of the drawer from amazon.
Painting:
For the paint, I used Mount Etna by Sherwin-Williams with a roller and used paint brush to paint in the drawer fronts.
And done!
Tips:
Some tips for this IKEA Rast hack:
- I get asked a lot; why caulk and not wood-filler? Because, wood filler would be harder to clean up and I would’ve had to sand these grooves, wood would have lost its shape. So caulk worked better for me.
- Always check the board length before doing a pocket hole – mine was a little long and I made a mistake by not checking it before doing the pocket hole and ended up doing another round of pocket holes.
- I used a kreg-jig for pocket holes but you can also screw it directly from the side and counter sink it. I have a small video about how to use a kreg-jig, in case you want to check it out.

